
Your Realtek microphone just stopped working, and you’re missing Zoom calls or Discord sessions. The silence is frustrating, especially when system settings look normal.
Most Realtek microphone failures on Windows 10 and Windows 11 stem from outdated or corrupted audio drivers, incorrect default-device assignments in the Sound Control Panel, disabled microphone permissions in Windows Privacy settings, or jack-detection conflicts in the Realtek Audio Console. Updating drivers via Device Manager, setting the correct default recording device in mmsys.cpl, granting microphone access under Privacy & Security, and disabling audio enhancements typically restore full functionality.
Whether you’re running Realtek High Definition Audio or the newer Realtek Audio Console, this guide walks you through every essential diagnostic step to bring your microphone back to life.
Key Takeaways
- Realtek microphone not working issues typically stem from outdated drivers, incorrect default-device settings, disabled microphone permissions, or jack-detection conflicts—all of which have specific, step-by-step fixes.
- Update your Realtek audio drivers through Device Manager or by downloading the latest package from the official Realtek website or your laptop OEM’s support page to resolve driver-related microphone failures.
- Enable microphone permissions in Windows Privacy & Security settings (Settings > Privacy & Security > Microphone on Windows 11) to ensure apps like Zoom and Discord can access your audio hardware.
- Disable audio enhancements and sound effects in the Recording tab’s properties window to prevent latency, distortion, or silence that often affects Realtek chipset microphones.
- Set your Realtek microphone as the default recording device in mmsys.cpl, adjust the microphone level slider to at least 80, and boost it by +10 dB to +20 dB if input is too quiet.
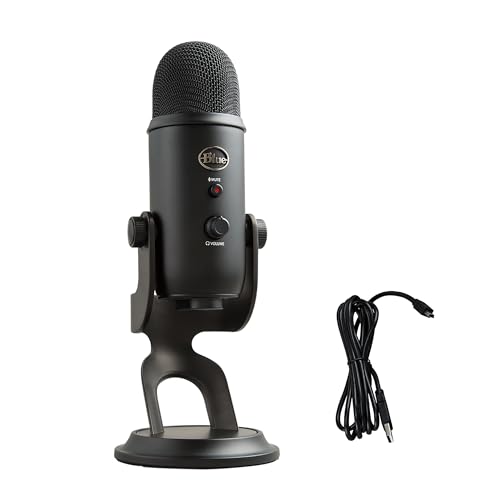
- If troubleshooting fails, consider switching to a dedicated external USB microphone or audio interface like the Blue Yeti USB Microphone or Focusrite Scarlett Solo to bypass Realtek chipset limitations entirely.
Why Your Realtek Microphone Stopped Working
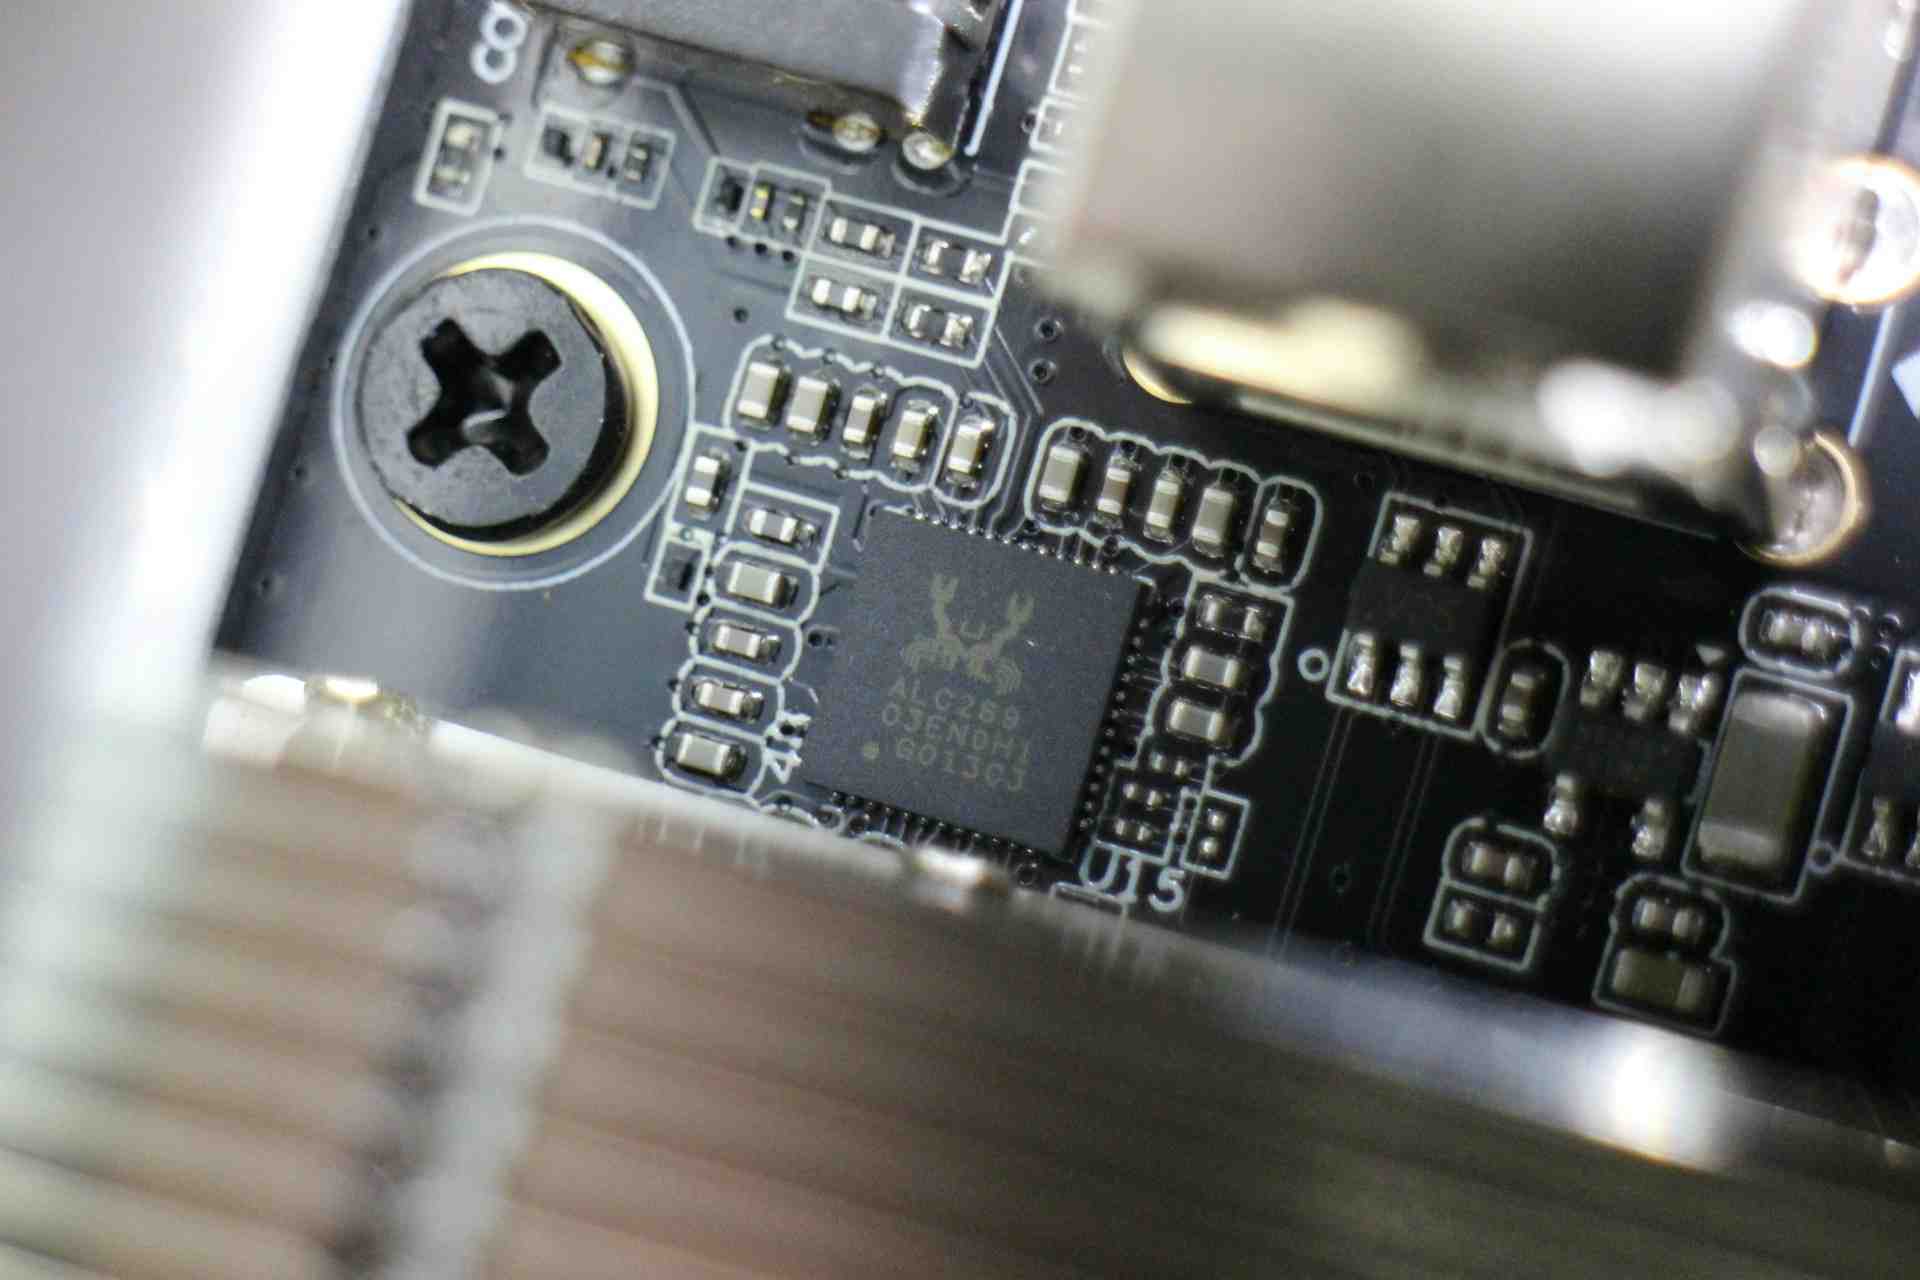
Realtek audio chipsets power over 60% of consumer Windows PCs sold between 2023 and 2026, according to IDC market research. When a driver update conflicts with Windows, the microphone disappears from the recording-device list or appears greyed out. You might see a yellow exclamation mark in Device Manager, often with Code 10 or Code 28 errors.
Jack-detection logic inside Realtek Audio Console can also misidentify plugged-in headset microphones, routing them to the wrong connector setting. Meanwhile, Windows Privacy & Security defaults can block all apps from accessing your microphone, even when hardware and drivers are intact. Each layer, driver, system policy, and application permissions, must align for audio capture to work.
Quick Checks Before Troubleshooting
Before diving into driver reinstalls, confirm the basics:
- Mute button: Check if your headset or laptop has a physical mute switch or a function-key combination (Fn + F4, Fn + F6) that silences the mic.
- Cable connection: Unplug and re-insert external microphones into the correct 3.5 mm jack, usually pink for mic, green for headphones.
- USB mic: If you’re using a USB microphone, plug it into a different USB port to rule out port failure.
- Windows volume mixer: Right-click the speaker icon in the taskbar, open Sound settings, and verify the input device isn’t muted or set to zero.
These quick wins eliminate hardware and user-error causes before you touch software.
Update Your Realtek Audio Drivers
Using Device Manager to Update Drivers
Press Win + X and select Device Manager. Expand Sound, video and game controllers, right-click Realtek High Definition Audio or Realtek Audio, and choose Update driver. Select Search automatically for drivers. Windows will query Microsoft’s catalog: if a newer version exists, it installs automatically.
If Windows reports “The best drivers are already installed,” the catalog may lag behind manufacturer releases. In that case, move to manual downloads.
Downloading Drivers from the Realtek Website
Visit the official Realtek download center and locate High Definition Audio Codecs. Download the latest package (typically a .zip containing setup.exe). Extract the archive, right-click setup.exe, select Run as administrator, and follow the installer. Restart your PC after installation completes.
Alternatively, check your laptop OEM’s support page, Dell, HP, ASUS, Lenovo often bundle customized Realtek drivers that include vendor-specific firmware patches.
Configure Windows Microphone Settings
Set Your Realtek Microphone as the Default Device
Press Win + R, type mmsys.cpl, and hit Enter. Click the Recording tab. Right-click your Realtek microphone (it may be labeled “Microphone Array” or “Front Mic”) and choose Set as Default Device. If the device shows as “Disabled,” right-click and select Enable first.
Double-click the microphone entry, navigate to the Levels tab, and drag the Microphone slider to at least 80. Set Microphone Boost to +10 dB or +20 dB if the input is too quiet. Click Apply, then speak into the mic, the green level meter should bounce.
Adjust Microphone Privacy Permissions in Windows
On Windows 11, open Settings > Privacy & security > Microphone. Toggle Microphone access to On, then scroll down and enable access for individual apps, Chrome, Zoom, Discord, or any recording software. Windows 10 users navigate Settings > Privacy > Microphone and perform the same toggles.
“Realtek High Definition Audio stopped detecting my Blue Yeti after a Windows 11 update. Switching privacy toggles back on fixed it instantly.” via r/Windows11
Without these permissions, even a perfectly configured driver remains muted system-wide.
Fix Issues in Realtek Audio Console
Search the Start menu for Realtek Audio Console (Windows 11) or Realtek HD Audio Manager (Windows 10). Open it and look for Device advanced settings or Connector settings. Enable Separate all input jacks as independent input devices if you’re using both front-panel and rear-panel microphones. Disable Mute the rear output device, when a front headphone plugs in to prevent jack-detection logic from silencing your mic.
Under the Microphone Effects or Voice tab, turn off Acoustic Echo Cancellation and Noise Suppression temporarily, they can distort or silence faint inputs. Save settings and test the microphone in the Windows Voice Recorder app.
“The Realtek pop-up connector dialog kept forcing my headset into ‘Line In’ mode. I disabled auto-detection in the console, manually set it to ‘Microphone,’ and everything worked.” via r/buildapc
Disable Audio Enhancements and Effects
Press Win + R, type mmsys.cpl, and open the Recording tab. Double-click your Realtek microphone, switch to the Enhancements tab, and check Disable all sound effects (Windows 10) or Disable all enhancements (Windows 11). Click Apply.
Head to the Advanced tab in the same properties window. Uncheck Allow applications to take exclusive control of this device and Give exclusive mode applications priority. These settings prevent apps from locking the microphone and causing conflicts.
Audio enhancements, intended to reduce echo or boost bass, often introduce latency, distortion, or complete silence on Realtek chipsets. Turning them off ensures a clean, unprocessed signal path.
Run the Windows Audio Troubleshooter
Open Settings > System > Troubleshoot > Other troubleshooters (Windows 11) or Settings > Update & Security > Troubleshoot (Windows 10). Click Recording Audio and select Run the troubleshooter. Windows scans for common issues: disabled devices, incorrect default assignments, and stopped services.
If the troubleshooter detects that the Windows Audio or Windows Audio Endpoint Builder service is stopped, it restarts them automatically. You can also manually verify these services by pressing Win + R, typing services.msc, and ensuring both services are set to Automatic and Running.
This built-in tool won’t fix driver corruption, but it catches configuration errors that manual checks might miss.
Reinstall Your Realtek Audio Drivers
Open Device Manager, expand Sound, video and game controllers, right-click Realtek High Definition Audio, and choose Uninstall device. Check Delete the driver software for this device (if available), then click Uninstall. Restart your PC. Windows will reinstall a generic High Definition Audio Device driver.
If the generic driver works, you’ve isolated a corrupted Realtek package. Download the latest Realtek driver from your laptop OEM’s support page or the Realtek website, run the installer, and restart again. This clean-slate approach eliminates registry conflicts and leftover configuration files that cause greyed-out devices or Code 10 errors.
For persistent hardware issues, consider a dedicated external USB microphone like the Blue Yeti USB Microphone or upgrade to a professional USB audio interface such as the Focusrite Scarlett Solo to bypass Realtek chipset limitations entirely.
Frequently Asked Questions
Why is my Realtek microphone not working on Windows 10 or Windows 11?
Realtek microphone failures typically stem from outdated drivers, incorrect default-device settings, disabled microphone permissions in Privacy settings, or jack-detection conflicts in the Realtek Audio Console. Update drivers via Device Manager, set the correct default recording device in mmsys.cpl, and enable microphone access in Settings > Privacy & Security to restore functionality.
How do I update my Realtek audio drivers to fix microphone issues?
Press Win + X, open Device Manager, expand Sound, video and game controllers, right-click Realtek High Definition Audio, and select Update driver. Choose Search automatically for drivers. If Windows reports the best drivers are installed, download the latest package from the official Realtek website or your laptop OEM’s support page, extract setup.exe, run as administrator, and restart.
How can I enable microphone permissions in Windows for Realtek to work?
On Windows 11, go to Settings > Privacy & security > Microphone and toggle Microphone access to On. Scroll down and enable access for individual apps like Chrome, Zoom, or Discord. Windows 10 users navigate to Settings > Privacy > Microphone. Without these permissions, even correctly configured Realtek drivers remain muted system-wide.
What should I check before troubleshooting my Realtek microphone?
First, verify the physical mute button or Fn key combination (Fn + F4, Fn + F6) isn’t engaged. Re-insert external mics into the correct 3.5 mm pink jack. For USB mics, try a different USB port. Open Sound settings via the taskbar speaker icon and ensure your input device isn’t muted or set to zero volume.
What is the Realtek Audio Console and how does it affect my microphone?
Realtek Audio Console (Windows 11) or Realtek HD Audio Manager (Windows 10) manages connector settings and jack-detection logic. Jack-detection can misidentify plugged-in headsets or route them incorrectly. Disable auto-detection, enable Separate all input jacks, and turn off Acoustic Echo Cancellation and Noise Suppression to prevent issues.
Should I disable audio enhancements if my Realtek microphone isn’t working?
Yes. Open mmsys.cpl, double-click your Realtek microphone, go to the Enhancements tab, and check Disable all enhancements. Audio enhancements often introduce latency, distortion, or silence on Realtek chipsets. Also uncheck exclusive control settings in the Advanced tab to prevent apps from locking the microphone.
Read More:
- YouTube Microphone Not Working (Essential Troubleshooting Steps)
- Pixel Buds Pro 2 Microphone Not Working (Here’s How to Fix It Fast)
- Poly Headset Microphone Not Working (Try This – It Might Fix the Problem)
- Quest 3 Microphone Not Working (Here’s What to Do First)
- Quest 2 Microphone Not Working (Here’s the Proven Fixes That Work)

Susan is a professional writer. She has been a writer for eight years and has always been so fulfilled with her work! She desires to share helpful, reliable, and unbiased information and tips about tech and gadgets. She hopes to offer informative content that can answer users’ questions and help them fix their problems.