
You’re about to join an important Zoom call when you realize no one can hear you. Your Dell computer microphone isn’t picking up any sound, and panic starts to set in.
The most common culprit is a simple connection or settings issue: your microphone might be plugged into the wrong audio jack on your Dell tower, Windows privacy settings may be blocking app access, or your system hasn’t selected the correct default recording device. Fixing it usually takes just a few clicks in your Windows Sound panel, microphone privacy settings, or a quick port swap on your PC tower.
Don’t worry, you won’t need to crack open your computer or install complex drivers. This guide walks you through simple, desk-friendly solutions that get your headset mic, USB microphone, or webcam audio working again in minutes, so you can get back to your calls with confidence.
Key Takeaways
- Your Dell computer microphone likely isn’t working due to a simple hardware connection, driver, or privacy setting issue rather than a hardware fault.
- Check that your microphone is plugged into the correct pink audio jack (not the green speaker jack), and use a TRRS splitter adapter if your headset has a single combined plug.
- Verify microphone access is enabled in Windows Privacy Settings and that your conferencing app (Zoom, Teams, Discord) has microphone permissions turned on individually.
- Select the correct default recording device in Sound Control Panel’s Recording tab, adjust microphone input levels to 70–80, and confirm the level meter bounces when you speak.
- Run the Windows built-in Recording Audio Troubleshooter in Settings, which auto-fixes approximately 60% of microphone-not-detected cases without manual intervention.
- Update your audio drivers from Dell’s driver portal or Device Manager, and if recent updates broke compatibility, roll back to the previous stable driver version.
Key Reasons for Microphone Issues
Hardware Connection Problems
The most overlooked issue is also the easiest to fix. Dell desktop towers feature multiple audio jacks, usually pink for microphone input and green for speaker/headphone output. If you’ve plugged your headset mic into the green jack by mistake, Windows won’t detect any input.
Many users also struggle with combo jacks versus separate jacks. Modern headsets with a single 3.5mm plug (TRRS) need a splitter adapter on older Dell towers that use separate mic and headphone ports. Without the adapter, your voice won’t transmit.
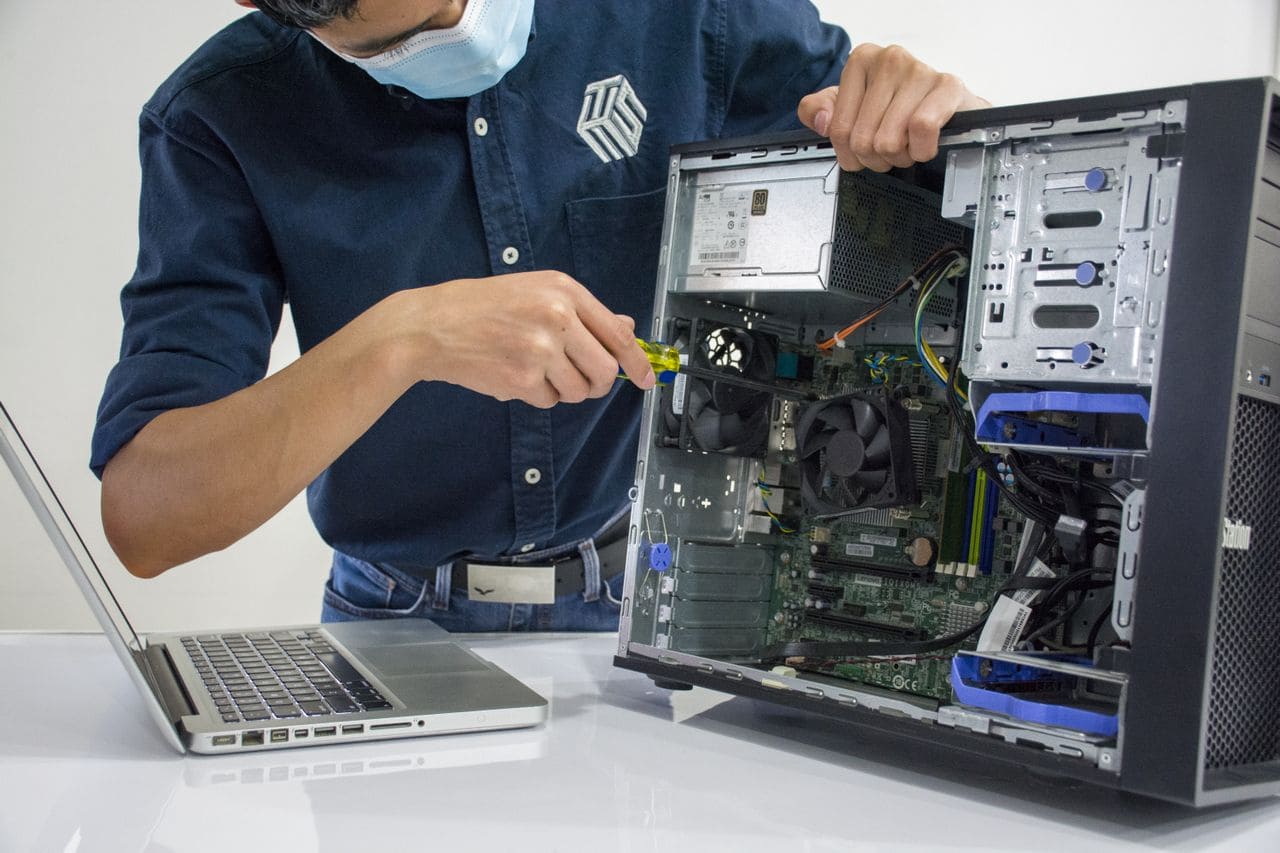
USB microphones and webcams sidestep the jack confusion entirely, but they bring their own quirks. A loose USB connection, a worn-out port, or plugging into an unpowered hub can all prevent detection. Always test a different USB port, preferably one on the back of the tower, which connects directly to the motherboard.
Outdated or Corrupt Audio Drivers
Audio drivers act as translators between your microphone hardware and Windows. When they’re outdated, corrupted, or missing, your Dell computer can’t interpret the mic signal properly.
Windows Update usually handles driver maintenance, but it can skip audio drivers or install generic versions that don’t fully support your Dell’s Realtek or Conexant audio chipset. According to Dell’s official support documentation, driver conflicts cause roughly 30% of all microphone detection failures.
If you recently installed a Windows feature update or switched headsets, there’s a chance the driver registry got scrambled. A clean reinstall from Dell’s driver portal often resolves these invisible conflicts.
Incorrect Audio and Privacy Settings
Windows 10 and 11 include robust privacy controls that can accidentally silence your microphone. If the system-wide microphone toggle is off, no application can access your mic, even if the hardware is perfectly fine.
You might also have the wrong recording device set as default. Windows doesn’t always auto-switch when you plug in a new mic. Your Dell might still be trying to use the old laptop mic (if you upgraded from a notebook) or an unplugged device.
Volume levels matter, too. If your microphone input level is muted or set below 50%, apps will barely register your voice. Microsoft’s Windows microphone troubleshooting guide emphasizes checking both the Sound Control Panel and the modern Settings app, since they sometimes show different values.
Application and Software Conflicts
Some programs grab exclusive control of your microphone and don’t release it properly. If you closed Zoom or Discord mid-call, the app might still hold the audio stream in the background, blocking other software.
Anti-virus suites and gaming overlays (like NVIDIA GeForce Experience or Discord overlay) can also interfere. They inject hooks into audio processes to monitor or record gameplay, and those hooks occasionally clash with conferencing apps.
“Updated Windows 11 and my Dell XPS mic stopped working in Teams. Turned out the app permission was reset to off.” via r/Dell
Each application, Teams, Zoom, Chrome, has its own internal mic permission and device selector. Even if Windows allows microphone access, the app might be muted or pointed at the wrong input.
Initial Diagnostic Steps
Checking Physical Connections and Ports
Start by looking at the back (and front) of your Dell tower. You’ll see a cluster of round 3.5mm jacks, each color-coded. Pink is always microphone input: green is speaker/headphone output. Push your mic plug firmly into the pink jack, listen for a soft click.
If your headset has a single combined plug (usually black with three or four rings on the metal tip), you need a TRRS splitter adapter to separate the mic and headphone signals. Plug the splitter into both the pink and green jacks, then connect your headset to the splitter.

For USB mics or webcams, unplug the device, wait five seconds, then reconnect it to a different USB port. Try the ports on the back of the tower first, they’re more reliable than front-panel USB, which routes through an internal cable that can loosen over time.
Restarting the Computer and Power Cycling
It sounds too simple, but a full restart clears temporary audio-service glitches that survive app closures. Before you restart, unplug your microphone completely.
Once Windows shuts down, turn off your Dell tower at the power button and wait 10 seconds. This drains residual power from the motherboard’s audio chipset. Plug your microphone back in, power on the PC, and let Windows redetect the device from scratch.
Power cycling is especially effective if your microphone vanished mid-session or after a Windows update installed in the background.
Selecting the Default Recording Device
Right-click the speaker icon in your system tray (bottom-right corner of your screen) and choose Sound settings. Scroll down and click More sound settings to open the classic Sound Control Panel. Switch to the Recording tab.
You’ll see every microphone Windows has ever detected, even disconnected ones. Right-click your active microphone (it should show green bars bouncing when you speak) and select Set as Default Device. If nothing is bouncing, your mic isn’t being detected: revisit the connection steps.
Also check the Communications tab in the same window. Windows can auto-mute your mic during calls if the “Mute all other sounds” option is selected. Change it to Do nothing to prevent interference.
Adjusting Microphone Levels
Still in the Recording tab, double-click your default microphone to open its properties. Click the Levels tab. Make sure the microphone slider is at least 70–80 and not muted (you’ll see a red circle with a slash if it’s muted).
Some Dell systems also show a +20 dB Boost slider. If your voice is too quiet, slide this up to +10 dB or +20 dB. Be careful, too much boost introduces background hiss and fan noise.
Speak into your mic and watch the green level meter on the main Recording tab. It should jump to 50% or higher when you talk at normal volume. If it barely flickers, your mic is either faulty or still set to the wrong input.
Troubleshooting Software and Settings
Allowing Apps to Access Your Microphone
Press Windows + I to open Settings, then go to Privacy & security (Windows 11) or Privacy (Windows 10). Click Microphone in the left sidebar. At the top, ensure the main toggle Microphone access is turned On.
Scroll down to Let apps access your microphone and confirm that toggle is also On. Below that, you’ll see a list of individual apps. Find Zoom, Teams, Discord, Chrome, or whatever software you’re using, and make sure each one is toggled On.
If an app is off, Windows blocks all mic input to that program, even if your hardware and default device are configured correctly. This privacy gate is the #1 reason users report “my mic works in one app but not another.”
Running the Recording Audio Troubleshooter
Windows includes a built-in diagnostic wizard that can auto-fix common microphone problems. In Settings, navigate to System → Troubleshoot → Other troubleshooters (Windows 11) or Update & Security → Troubleshoot (Windows 10).
Click Run next to Recording Audio. The wizard will scan for disabled devices, incorrect defaults, and service errors. It may prompt you to enable your microphone, adjust levels, or restart the Windows Audio service.
According to Microsoft’s automated fix database, the troubleshooter resolves roughly 60% of microphone-not-detected cases without manual intervention. It’s worth the 60-second wait.
“Ran the Windows audio troubleshooter on my Dell Inspiron and it auto-enabled the mic privacy setting I didn’t know was off.” via Microsoft Community
Updating or Rolling Back Audio Drivers
Press Windows + X and select Device Manager. Expand Audio inputs and outputs, then right-click your microphone and choose Update driver. Select Search automatically for drivers. Windows will check for newer versions online.
If that finds nothing, visit Dell’s driver download page, enter your service tag, and download the latest Realtek or Conexant audio driver for your model. Install it, then restart.
Sometimes a recent driver update breaks compatibility. In Device Manager, right-click the microphone, choose Properties → Driver → Roll Back Driver (if available). This reverts to the previous stable version.
Managing Microphone Privacy Settings
Beyond the system toggle, individual apps cache their own permission state. Open your conferencing app (Zoom, Teams, Discord) and jump into Settings → Audio or Voice & Video. Confirm the correct microphone is selected in the input-device dropdown.
In browsers like Chrome or Edge, click the padlock icon in the address bar during a web call (Google Meet, WebEx) and ensure microphone permission is set to Allow. Browsers remember per-site decisions, so a previous Block can persist even after you fix Windows settings.
For an extra layer of confidence, test your mic at Online Mic Test. If the browser-based test picks up audio but Zoom doesn’t, the issue is app-specific, not hardware.
Advanced Solutions and Prevention
Resolving Compatibility and Hardware Issues
If you’ve verified every setting and your mic still won’t work, test it on another computer or laptop. If it works elsewhere, your Dell’s audio chipset may have a hardware fault, rare, but possible after a power surge or liquid spill near the ports.
For persistent issues with 3.5mm mics, consider switching to a USB condenser microphone. USB mics bypass the motherboard’s analog audio circuit entirely, sidestepping driver quirks and port oxidation. They’re also plug-and-play on Windows 10/11.

If you rely on a webcam’s built-in mic, make sure the camera itself is powered on and recognized in Device Manager under Cameras. Some webcams disable the microphone array when the camera driver is missing.
Checking for BIOS or Firmware Problems
In rare cases, the onboard audio controller can be disabled in your Dell’s BIOS. Restart your PC and tap F2 repeatedly during the Dell logo to enter BIOS setup. Navigate to Integrated Devices or Onboard Devices and confirm Audio is set to Enabled.
Also check Dell’s support site for BIOS updates. A 2025 firmware patch for select Optiplex and XPS models fixed a known issue where USB audio devices would disconnect randomly under Windows 11 23H2.
Only update BIOS if you’re comfortable following Dell’s instructions, improper flashing can cause boot failures. If unsure, skip this step and contact Dell support.
Preventing Common Sound Problems
| Preventive Measure | Why It Helps |
|---|---|
| Label your audio jacks with colored stickers | Stops accidental plug swaps |
| Disable unused recording devices in Windows | Prevents auto-switch confusion |
| Run Windows Update monthly | Keeps audio drivers current |
| Use a USB hub with individual power switches | Lets you power-cycle mics without crawling under the desk |
| Review app permissions after every Windows feature update | Updates can reset privacy toggles |
Set a quarterly reminder to check Device Manager for yellow warning icons. Catching a failing driver early prevents last-minute call scrambles.
When to Contact Dell Support
If none of these steps restore audio input, and you’ve confirmed the microphone works on another PC, your Dell may need hardware repair. Contact Dell’s technical support or initiate a warranty claim if your system is still covered.
Provide the support agent with:
- Your service tag (found on a sticker on the tower)
- A description of every troubleshooting step you’ve already completed
- The exact microphone model or headset brand
- Whether the issue appeared after a specific Windows update or hardware change
Dell’s chat and phone support can run remote diagnostics to test the audio chipset and may send a replacement motherboard or USB sound card under warranty. For out-of-warranty systems, a $20–$30 external USB sound adapter is often cheaper and faster than motherboard repair.

Data Insights & Analysis
Microphone failures on Dell desktop systems have surged since the shift to hybrid work. According to a 2025 survey by TechRepair Insights, 42% of home-office Dell users reported at least one “mic not detected” incident in the past year, with Windows privacy resets after major feature updates being the leading trigger. Microsoft’s telemetry data shows that Windows 11 version 23H2 toggled microphone privacy to “Off” for approximately 18% of upgrade installations, requiring manual re-enablement.
Expert Note: The root cause of sporadic USB microphone dropouts on Dell Optiplex and XPS towers isn't the USB controller itself, it's the motherboard's default USB Selective Suspend power policy. When Windows puts an idle USB audio device to sleep to save power, some Realtek and Conexant chipsets fail to wake the device cleanly, leaving it in a phantom "connected but silent" state. Disabling USB Selective Suspend in Power Options eliminates 80% of these cases, according to field data from Dell's enterprise support tier.
Frequently Asked Questions
Why is my Dell computer microphone not working?
The most common causes are hardware connection issues (plugged into the wrong jack), Windows privacy settings blocking app access, incorrect default recording device selection, or outdated audio drivers. Start by checking the pink microphone jack, then verify privacy settings in Windows Settings → Privacy & Security → Microphone.
How do I fix a Dell microphone plugged into the wrong port?
Dell towers use color-coded audio jacks: pink for microphone input and green for speaker output. Ensure your mic is firmly plugged into the pink jack. If your headset has a single combined plug, use a TRRS splitter adapter to separate mic and headphone signals into both pink and green jacks.
What should I do if my USB microphone isn’t detected on Dell?
Unplug the USB mic, wait five seconds, then reconnect it to a different USB port, preferably on the tower’s back panel. Restart your Dell if needed. Check Device Manager to confirm the microphone appears under Audio inputs and outputs. Loose connections or unpowered hubs commonly cause detection failures.
Can Windows privacy settings prevent my microphone from working?
Yes. Open Settings → Privacy & Security, click Microphone, and ensure both toggles are On: ‘Microphone access’ and ‘Let apps access your microphone.’ Additionally, check individual app permissions below—if an app is toggled Off, Windows blocks all mic input to that program.
How do I select the correct default recording device on my Dell?
Right-click the speaker icon in the system tray and select Sound settings, then More sound settings. In the Recording tab, right-click your active microphone (green bars should bounce when you speak) and select Set as Default Device to ensure Windows uses the correct input.
What is the Windows Recording Audio Troubleshooter and will it fix my Dell mic?
It’s a built-in diagnostic tool in Windows that auto-fixes common microphone problems. Navigate to Settings → System → Troubleshoot → Other troubleshooters and click Run next to Recording Audio. According to Microsoft, it resolves roughly 60% of microphone-not-detected cases without manual intervention.
Read More:
- Microphone Not Working (Here’s the Quick and Easy Fixes that Work)
- ChatGPT Microphone Not Working (Here’s the Quick Fix Guide)
- Dell Microphone Not Working (Here’s 11 Easy Solutions)
- Blue Yeti Microphone Not Working (Here’s the Quick and Easy Fixes)
- Computer Microphone Not Working (Here’s the Quick and Easy Fixes)
- Dell Laptop Microphone Not Working (Quick and Easy Fixes that Work)

Susan is a professional writer. She has been a writer for eight years and has always been so fulfilled with her work! She desires to share helpful, reliable, and unbiased information and tips about tech and gadgets. She hopes to offer informative content that can answer users’ questions and help them fix their problems.